How to Enable MMS Messaging on Your Mac in Minutes
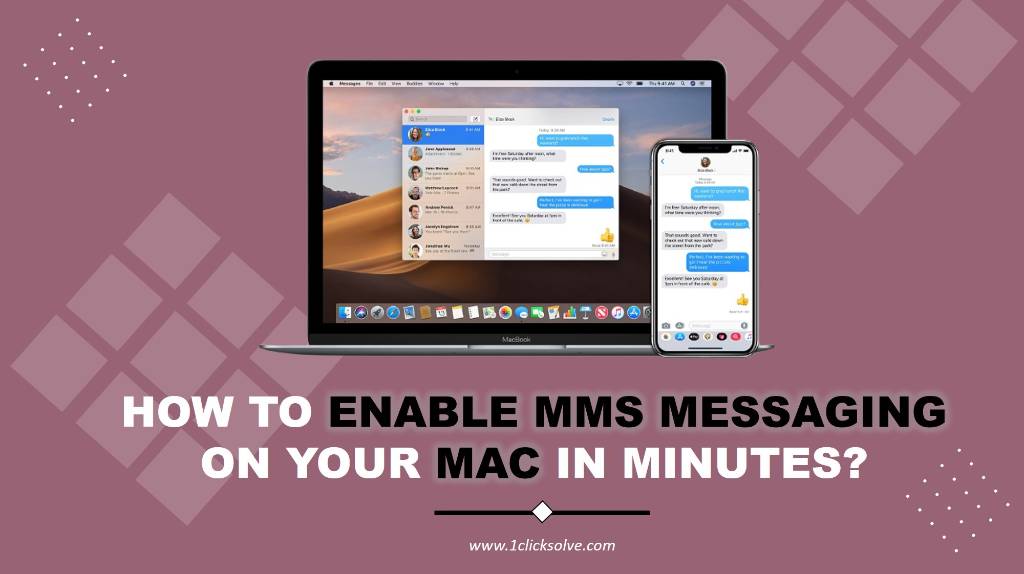
In the fast-paced digital world we live in, communication is key, and multimedia messaging has become an integral part of our daily lives. Whether you want to share a funny meme, a memorable video, or a series of photos, MMS (Multimedia Messaging Service) is the way to go. While it's a breeze to send and receive MMS messages on your smartphone, what about your Mac? Well, we've got you covered. In this comprehensive guide, we'll walk you through the simple steps to enable MMS messaging on your Mac in just a matter of minutes.
Why Enable MMS Messaging on Your Mac?
Before we dive into the technicalities, let's quickly address the "why." Enabling MMS messaging on your Mac can be incredibly convenient for several reasons:
- Seamless Integration: By enabling MMS on your Mac, you create a seamless communication experience between your computer and your smartphone. This means you can view and respond to multimedia messages right from your Mac's screen.
- Enhanced Productivity: If you're working on your Mac and don't want to constantly pick up your phone to view MMS messages, this feature can significantly enhance your productivity.
- Quick Sharing: Need to share a funny or important image or video with a colleague while working? Enabling MMS on your Mac makes it quick and effortless.
- Multi-Platform Access: Whether you're using an iPhone, Android device, or any other smartphone, you can use this method to access your multimedia messages on your Mac.
Now, let's get down to the nitty-gritty and guide you through the steps to make this happen.
Step 1: Ensure Your Mac Meets the Requirements
Before diving into the setup process, ensure that your Mac meets the following requirements:
macOS Compatibility: This method works best on macOS Catalina and later versions.
Internet Connection: Make sure your Mac is connected to the internet, as this process involves syncing data between your devices.
Step 2: You just need to log in with Your Apple ID
Now, let's proceed with the steps:
- Click on the Apple menu in the upper-left corner of your Mac's screen.
- Select "System Preferences" from the dropdown menu.
- In the System Preferences window, you just need to click on "Apple ID."
You need to sign in with your Apple ID if you haven't already. This step is crucial for enabling MMS messaging on your Mac, as it establishes a connection with your iCloud account.
Step 3: Enable Messages on Your Mac
Now that you're signed in with your Apple ID, follow these steps to enable Messages on your Mac:
- In the System Preferences window, click on "Messages."
- You need to make sure that the box next to "Enable this account" is checked. This will activate the Messages app on your Mac.
In this "You can be reached for messages at" section, ensure that your phone number and email addresses are selected. This ensures that you can send and receive MMS messages from these accounts on your Mac.
Step 4: Sync Messages with iCloud
- To enable MMS messaging on your Mac seamlessly, you'll want to sync your Messages with iCloud. Here's how:
- Open the Messages app on your Mac. You can find it in your Applications folder or by searching for it using Spotlight (Cmd + Spacebar).
- In the Messages menu, click on "Preferences."
- In the Preferences window, you need to go to the "iMessage" tab.
You need to check the box next to "Enable Messages in iCloud." This option is require for ensuring that your messages are synced across all your Apple devices.
Step 5: Verify Your Phone Number
- To fully enable MMS messaging on your Mac, you need to verify your phone number. This step is vital for ensuring that messages sent to your phone number are also accessible on your Mac.
- In the Messages app on your Mac, click on "Messages" in the menu bar.
- In the Preferences window, go to the "Accounts" tab.
Under "You can be reached for messages at," You need to check and make sure that your phone number is selected. If it's not, click on it to enable it.
Step 6: Start Messaging on Your Mac
- Congratulations! You've successfully enabled MMS messaging on your Mac. Now, let's start sending and receiving multimedia messages:
- Open the Messages app on your Mac.
- Click on the compose button (the pencil icon) in the upper-left corner.
- Begin typing the name or phone number of the contact you want to message. As you type, the app will suggest contacts from your iCloud account.
- Compose your message by typing in the text box at the bottom of the conversation window. To send multimedia messages, simply drag and drop images, videos, or other media into the chat.
- Click the send button (the blue arrow) to send your MMS message.
Conclusion
In just a few simple steps, you've enabled MMS messaging on your Mac, allowing you to seamlessly send and receive multimedia messages without reaching for your smartphone. This integration enhances your communication experience and productivity, making it a valuable addition to your digital toolkit.
So, the next time you want to share a hilarious meme, an inspiring video, or a series of photos, remember that your Mac can do more than you think. Enjoy the convenience of MMS messaging on your Mac, and stay connected with ease.
